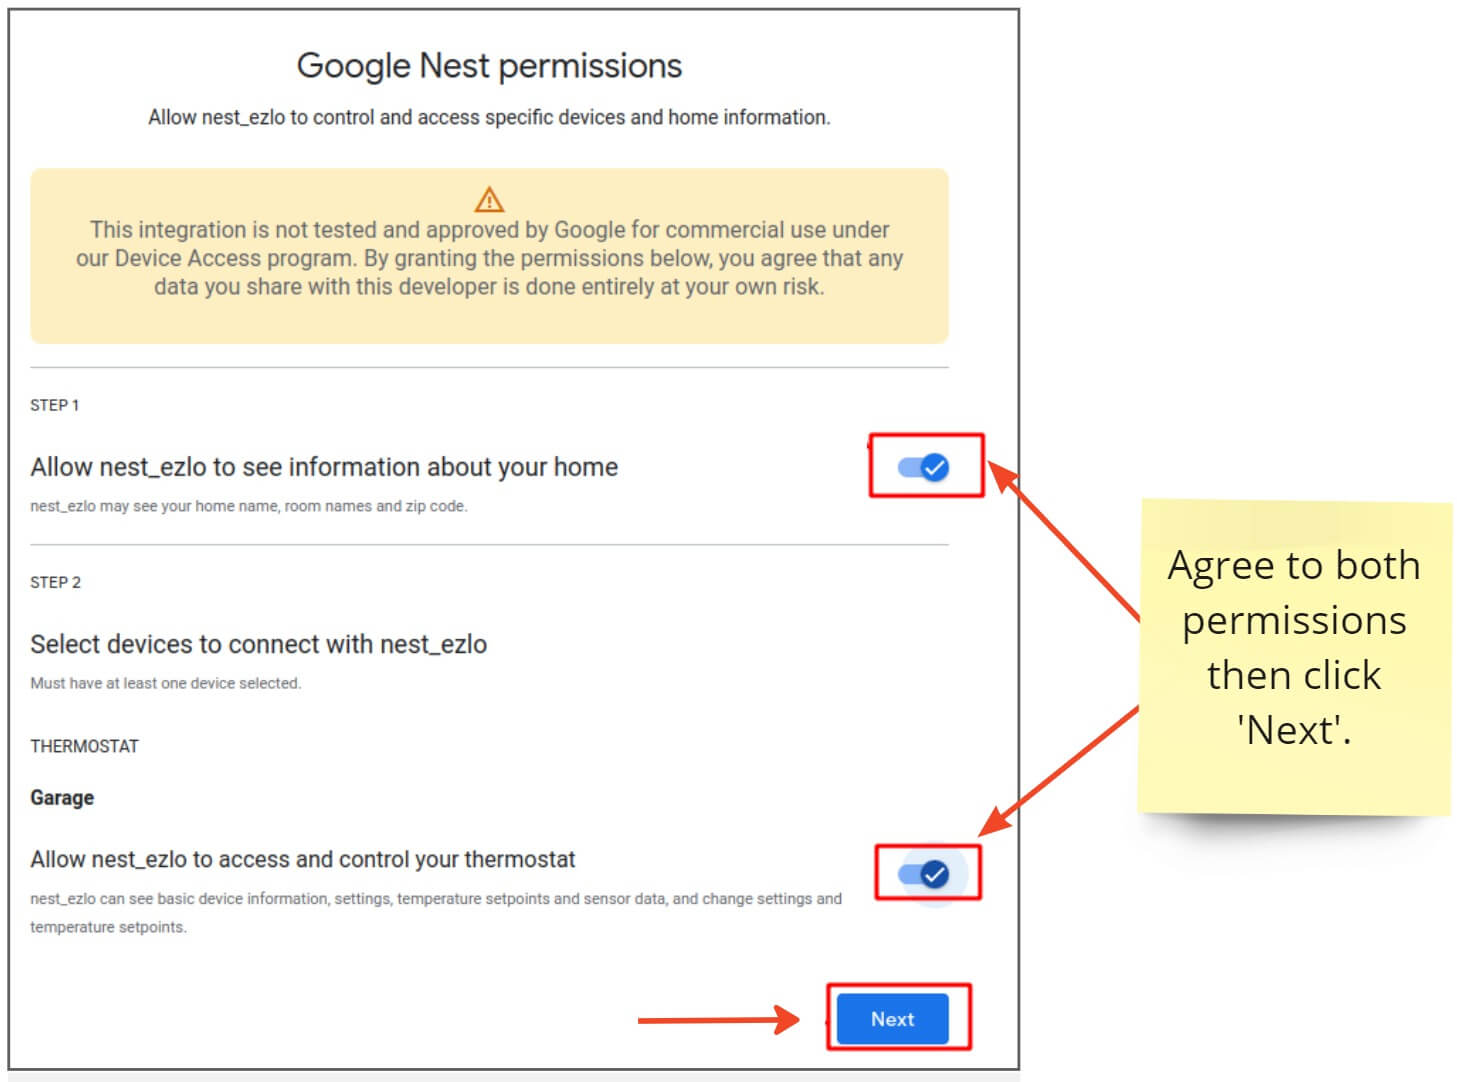
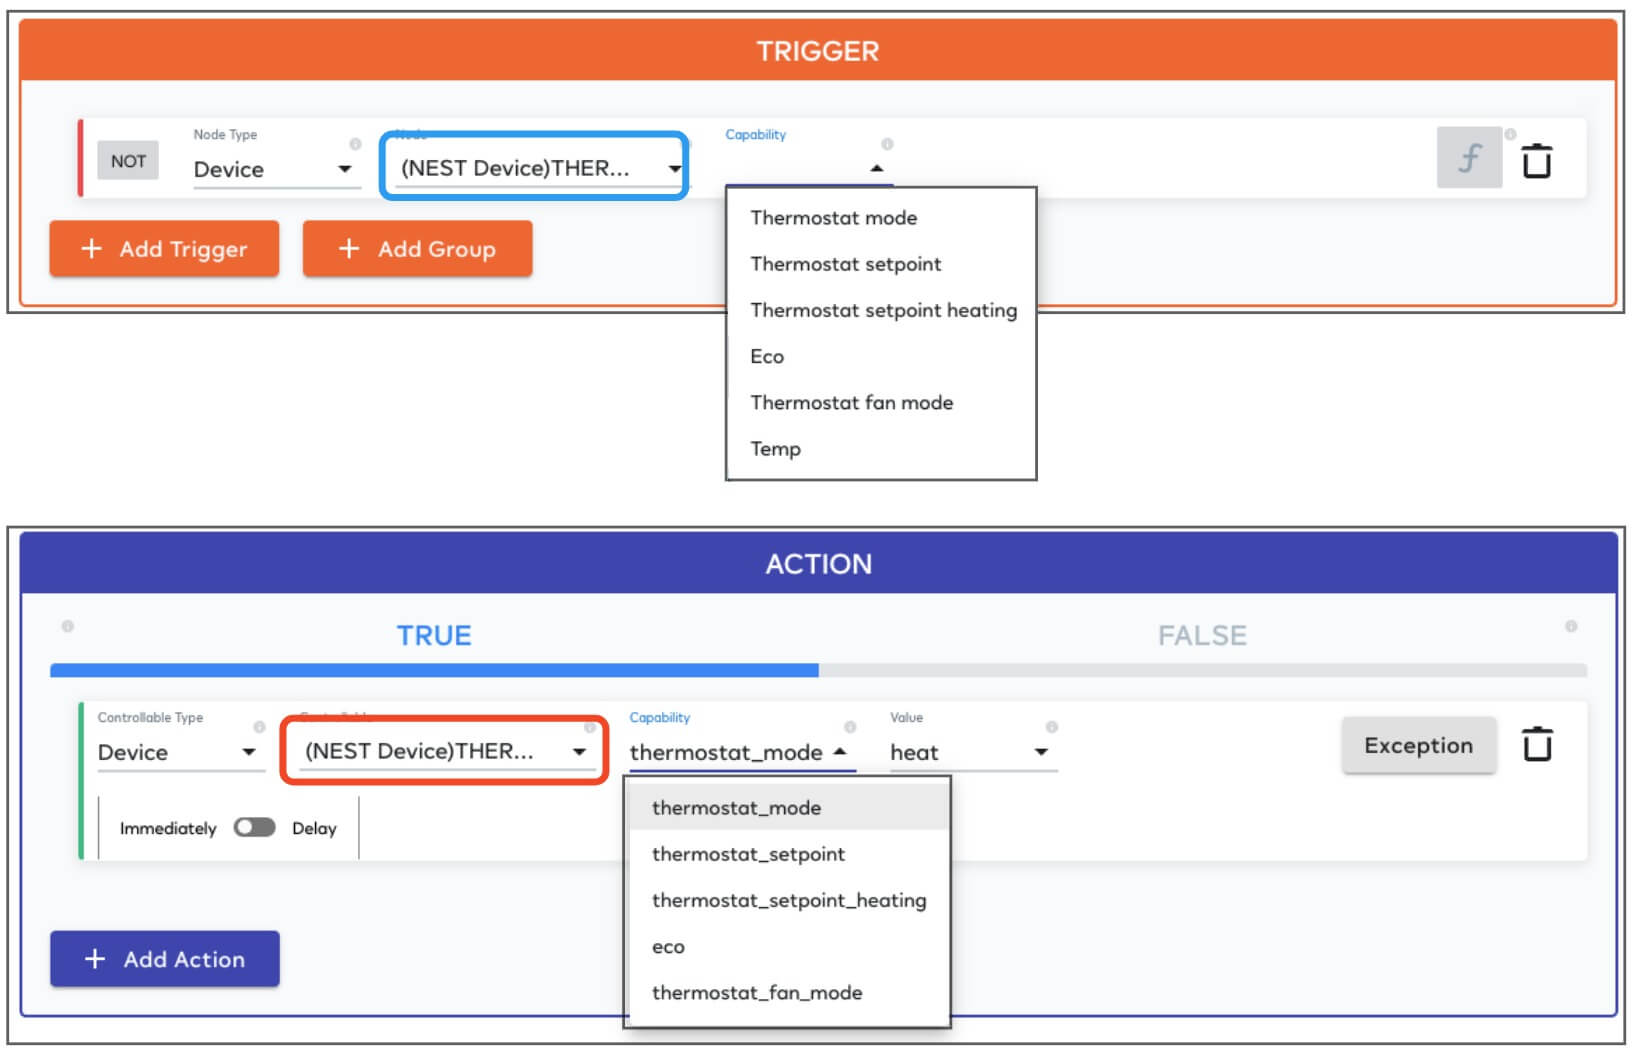
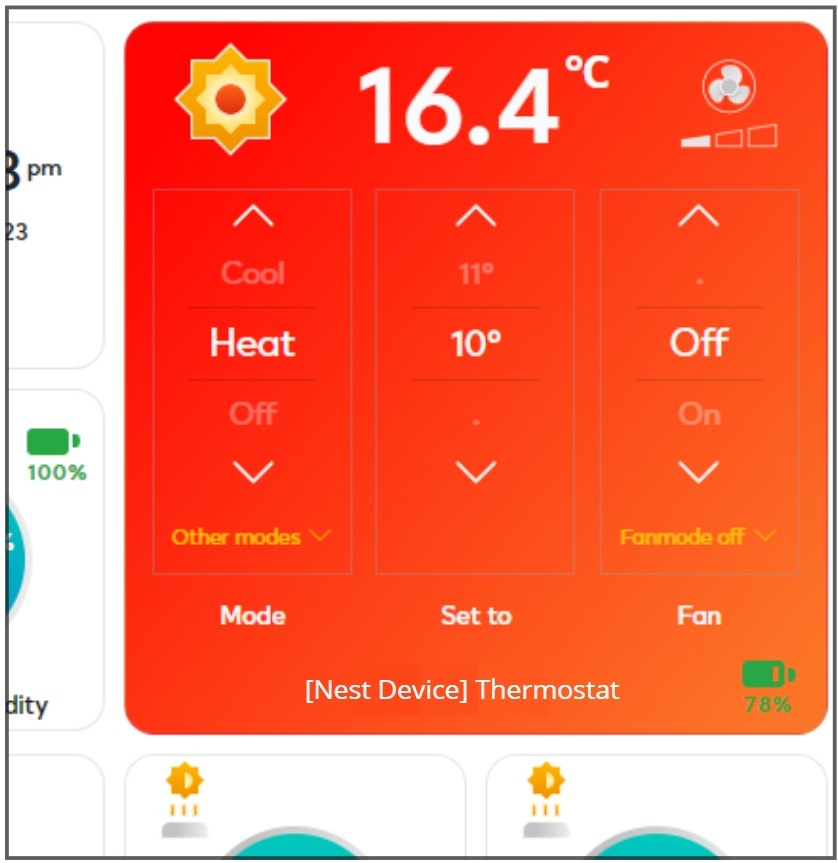
The Nest plugin lets you integrate Google Nest thermostats with your Ezlo system. Once integrated, you can create meshbot automations which feature your thermostats and also control these devices via the dashboard.
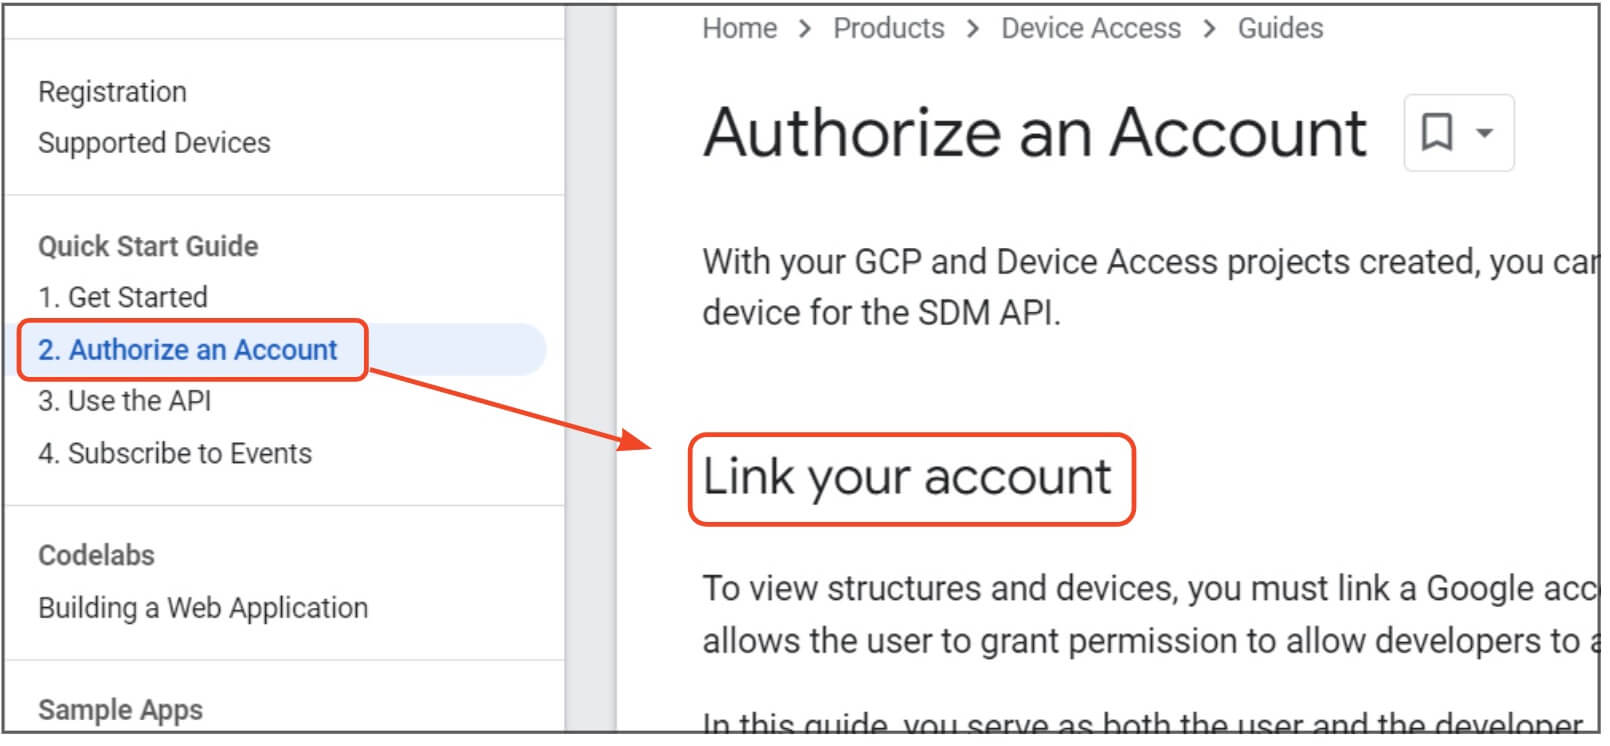
Google requires you to enroll in their device access program in order for third party systems (such as Ezlo) to access Nest devices.
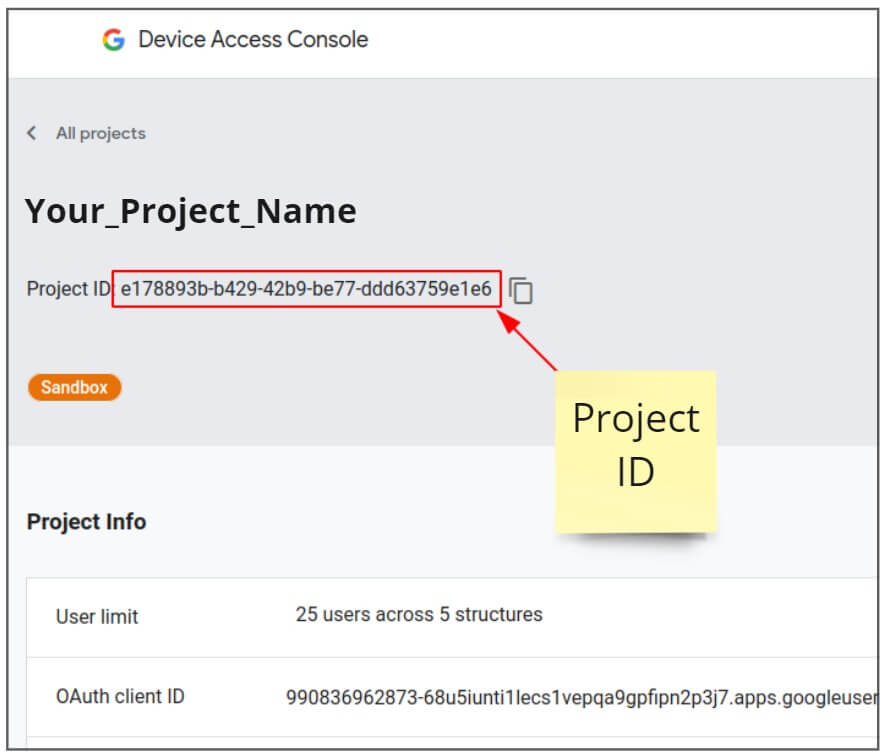
You must first create a ‘Device Access’ project by following the steps on this Google help page.
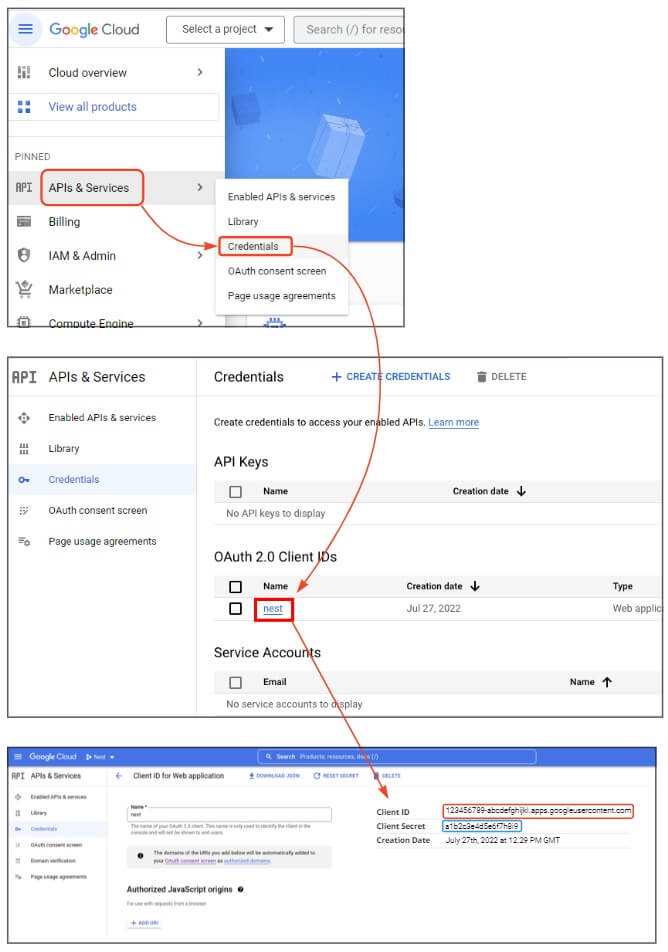
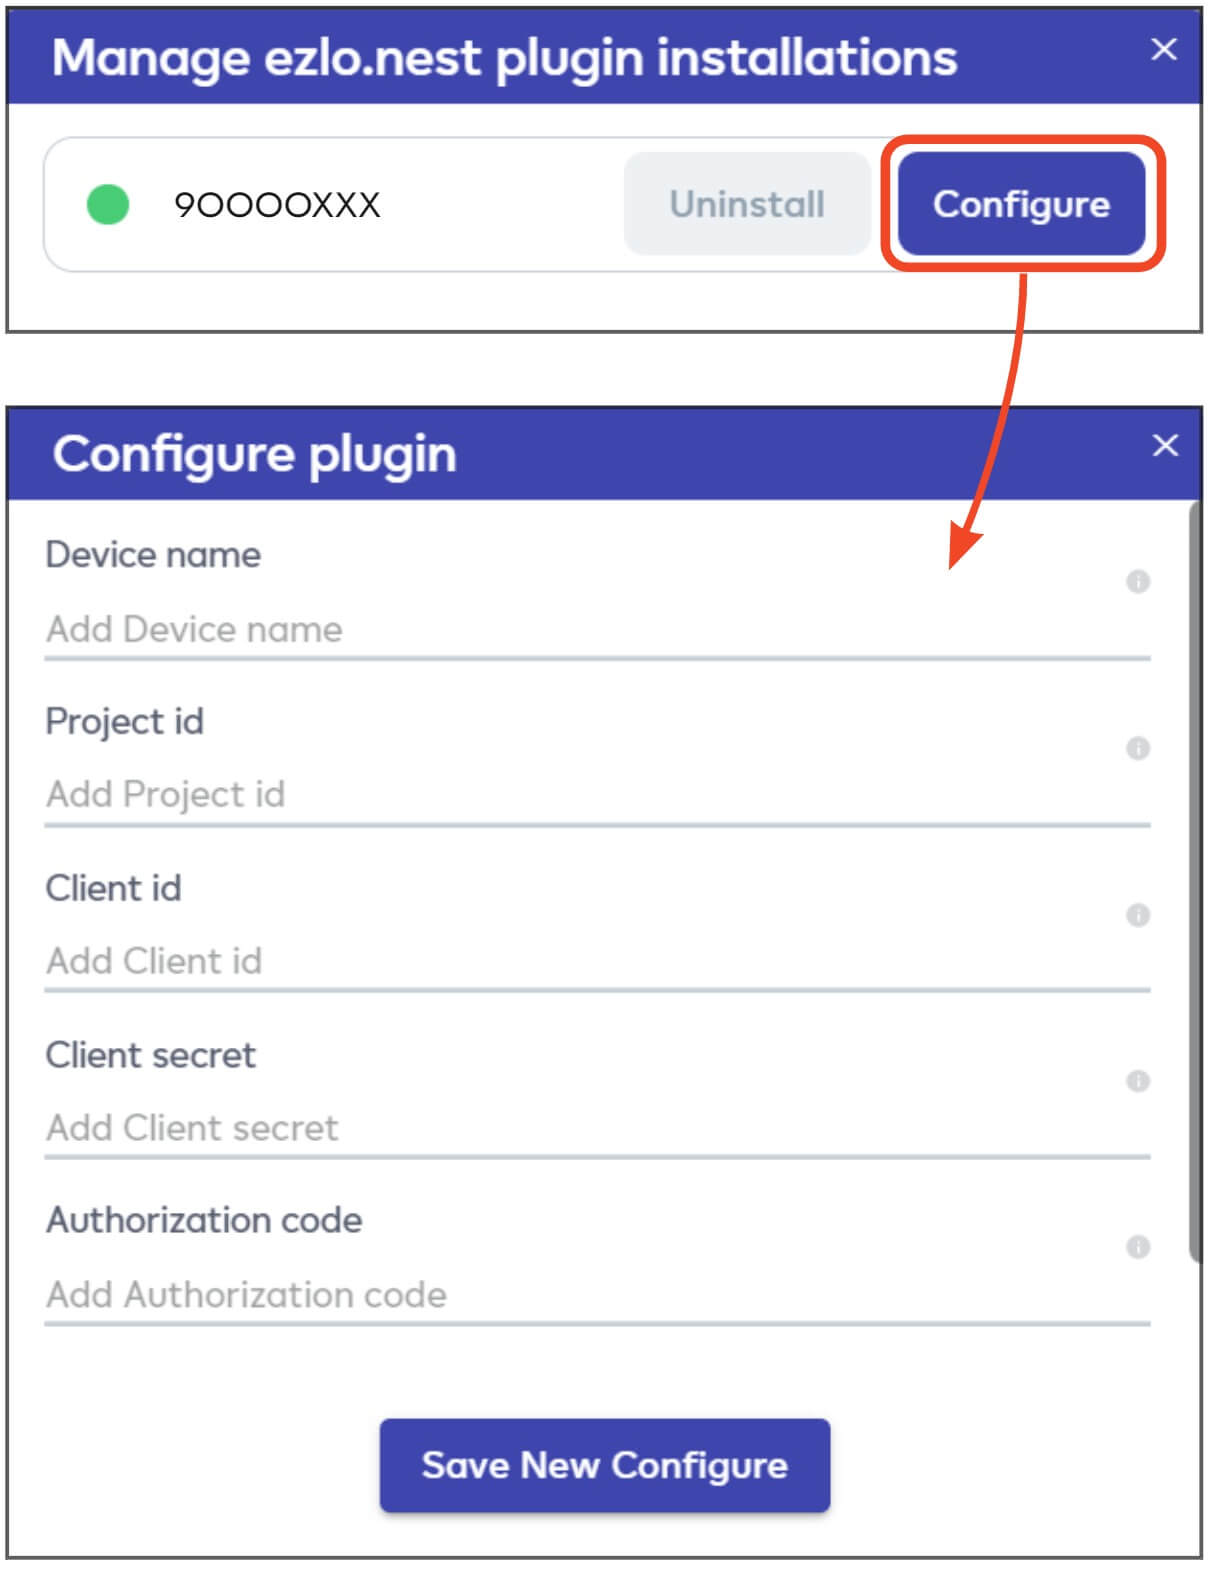
Next, you need to collect the following four credentials from your Google project: