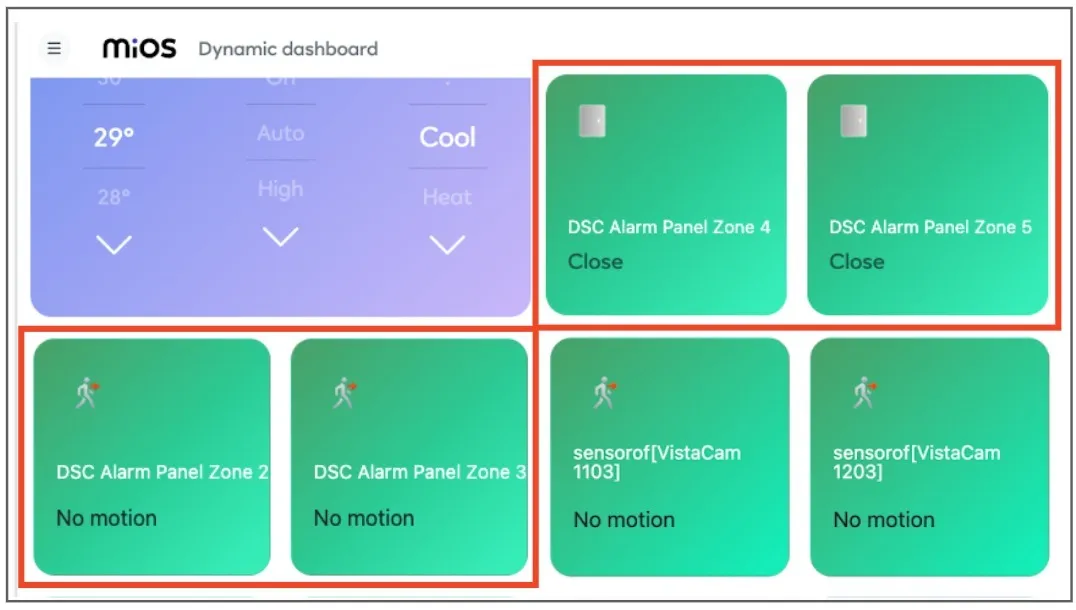
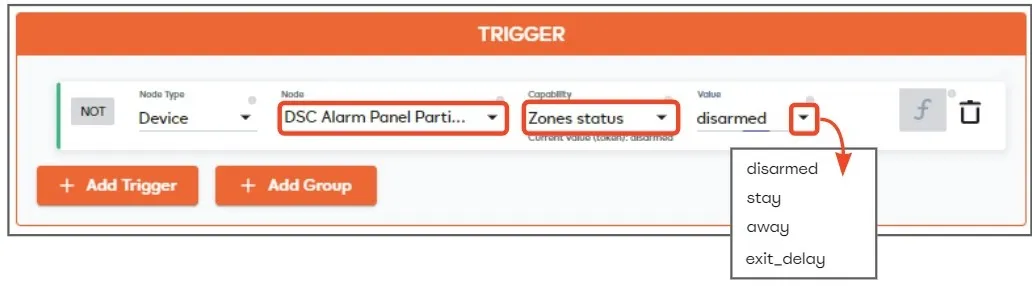
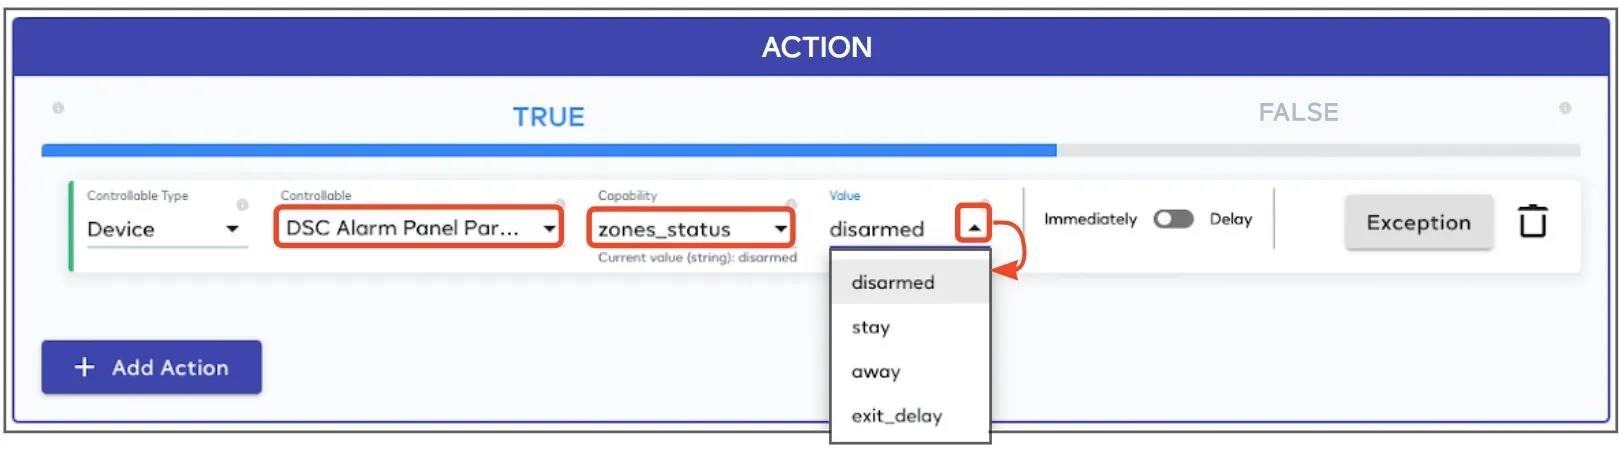
The DSC alarm plugin lets you integrate DSC alarm panels into the Ezlo ecosystem. The plugin will create virtual devices which represent your panel and each of its partitions and zones. You can then run meshbot automations based on the status of your zones, and view the status of each device on the dashboard.
You need an automation interface card installed in your alarm panel for this plugin to work. The card allows you to control the panel over wireless connections using apps such as EZLogic and our mobile apps.
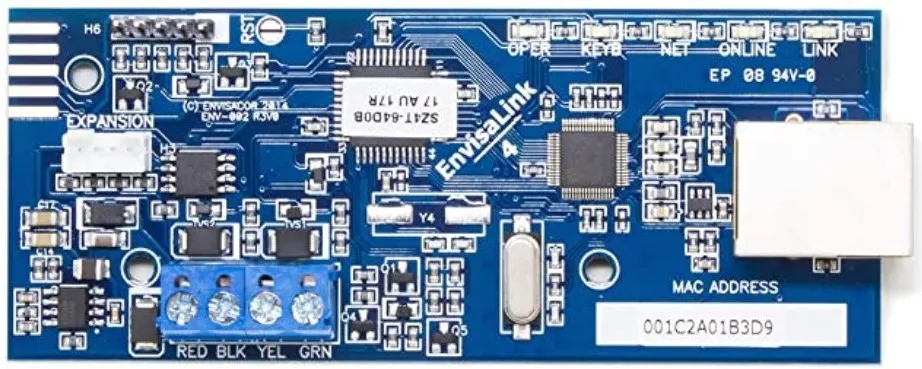
Our DSC plugin was built and tested using the Envisalink 4 security module. It should also work with other cards that offer similar functionality, but may require some trial and error.
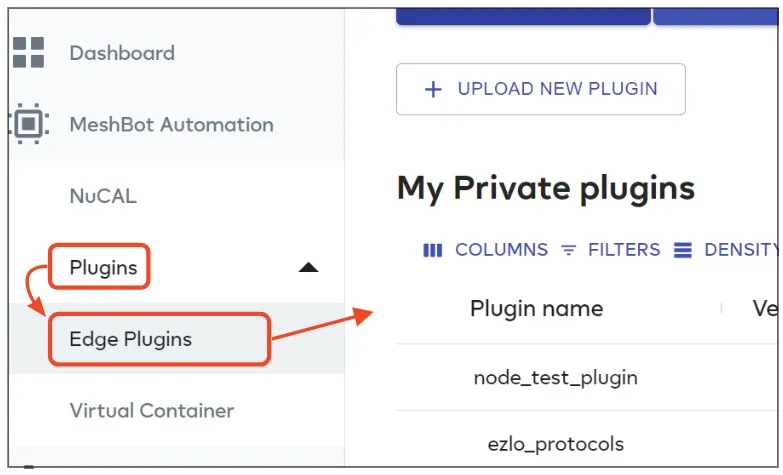
Login to EZLogic then click ‘Plugins’ > ‘Edge Plugins’ in the left-hand menu:
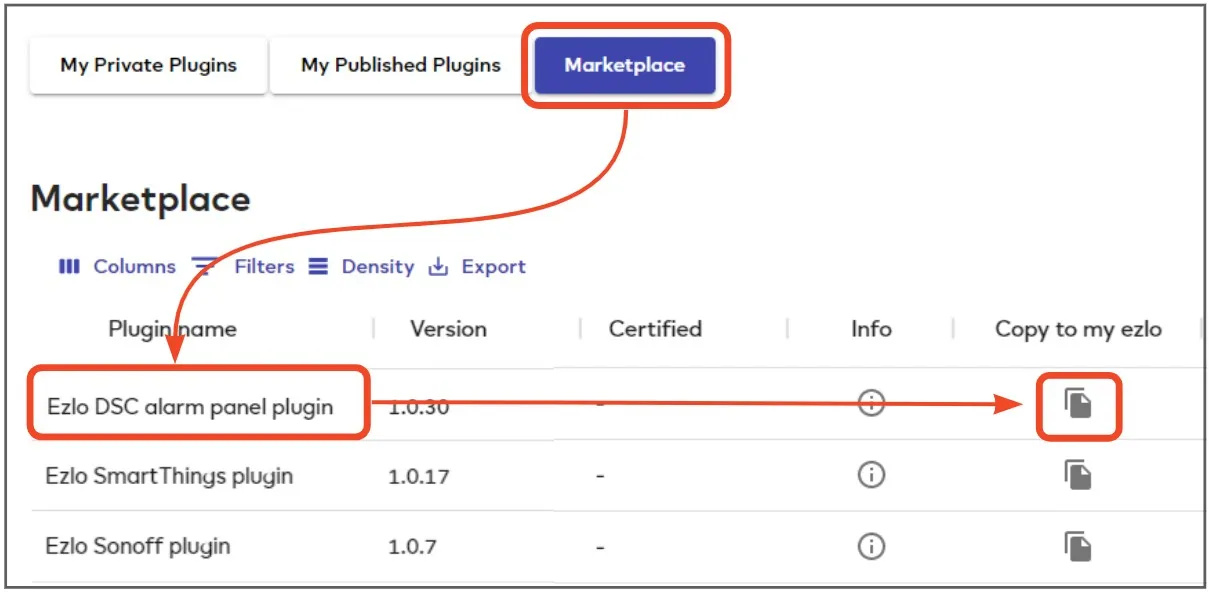
Click ‘Marketplace’, locate the ‘Ezlo DSC alarm panel plugin’ row then click ‘Copy to my Ezlo’:
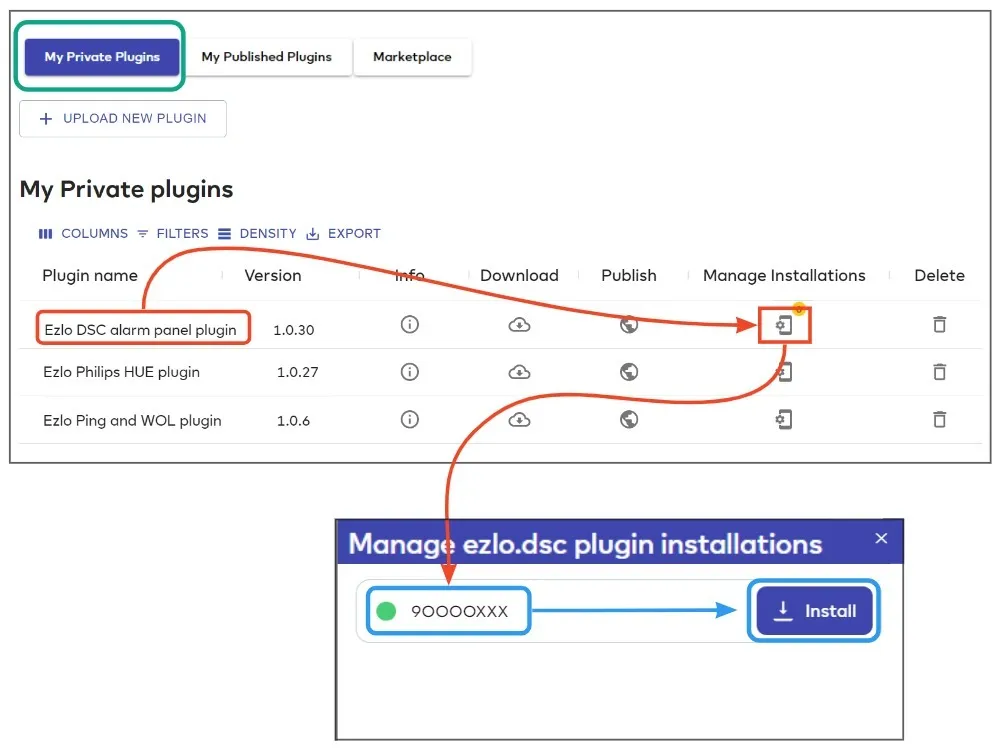
Next, click ‘My Private Plugins’ at the top of the screen.
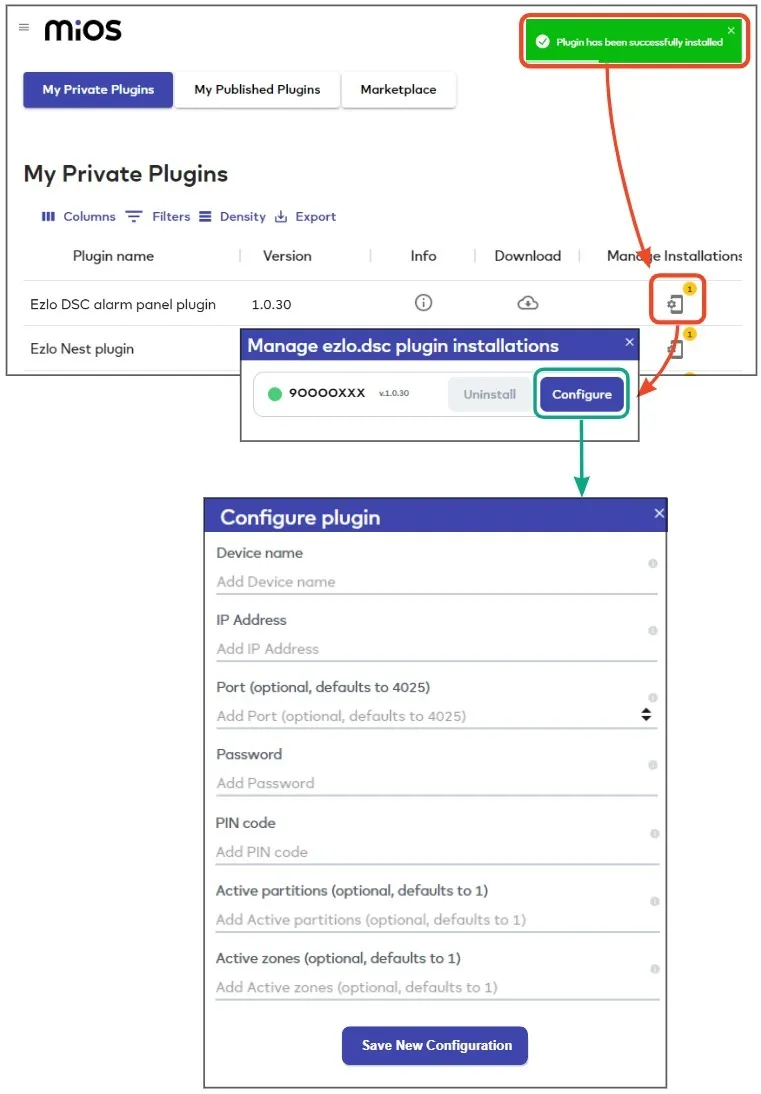
Locate the DSC plugin row then click ‘Manage Installations’.
Choose the controller you want to use then click ‘Install’:
After installation, click the ‘Manage Installations’ icon again then click the ‘Configure’ button next to your chosen controller:
Complete the form as follows:
Device Name – Choose a name that will help you easily identify your DSC Alarm Panel device. For example, ‘Ezlo DSC Alarm Panel’ or similar.
The name you give to the alarm panel will be used as a prefix for your partition and zone devices. For example, if you choose ‘My DSC Alarm Panel’, then your partition devices will be called ‘My DSC Alarm Panel Partition 1’, etc. You can, of course, rename the panel, partition and zone devices later if required.
IP Address – Enter the IP address of your Envisalink automation module.
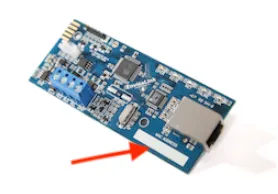
The Envisalink’s IP address can be found in your router LAN status page by looking for the Envisalink’s MAC address. You can find the MAC address on the sticker on the module:
Note – if you haven’t done so already, you must assign a static IP address to the card in your router’s DHCP configuration.
Port – Optional. The port of the Envisalink module. The default port is 4025.
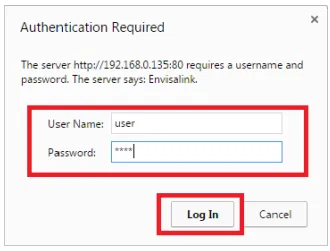
Password – The password used to log into the Envisalink local web page. The default user name is “user” and the default password is “user”. Try these default credentials if you haven’t knowingly set up a different UN/PW.
FYI – you can access the Envisalink local web page by typing “envisalink” or the IP address of the Envisalink module into a browser on the same network.
PIN Code – The PIN code used to disarm your alarm panel.
Active Partitions – Optional (defaults to 1). A partition is a sectioned-off portion of your alarm system that can be controlled independently from the rest of the system.
Enter a comma-separated list of all your active partition numbers. For example, enter 1,2,3 if you use partitions one, two and three.
Active Zones – Optional (defaults to 1).
Enter a comma-separated list of all your active zone numbers. For example, enter 2,4,5,6 if you currently have zones two, four, five and six as your active zones.
You can also define zones by type by using this (example) notation:
Click ‘Save new configuration’ to create your alarm panel and partition/zone devices.
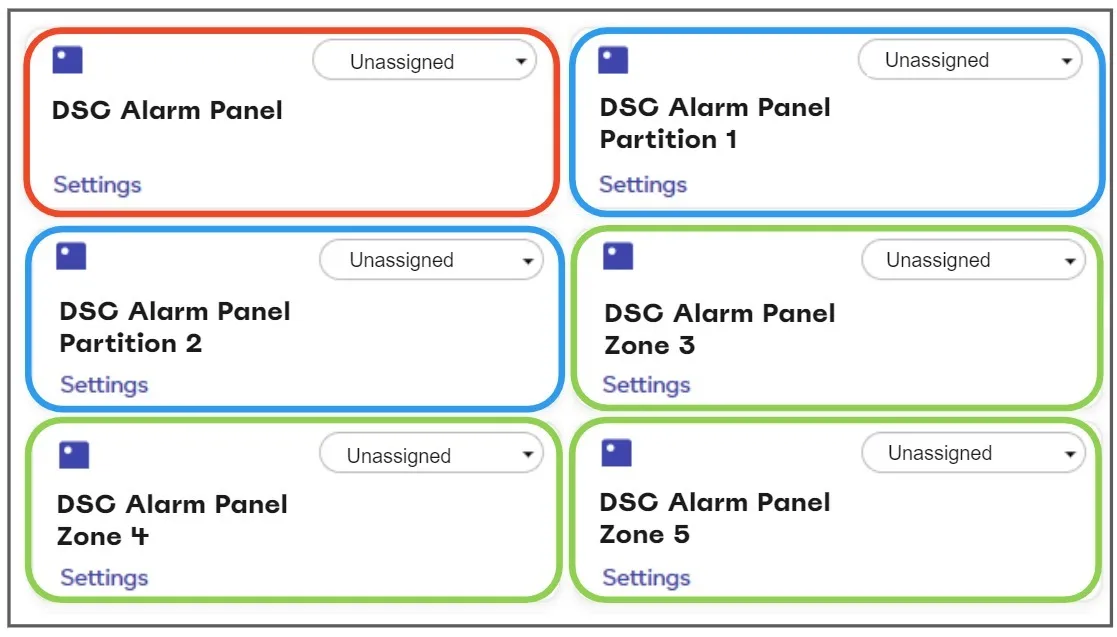
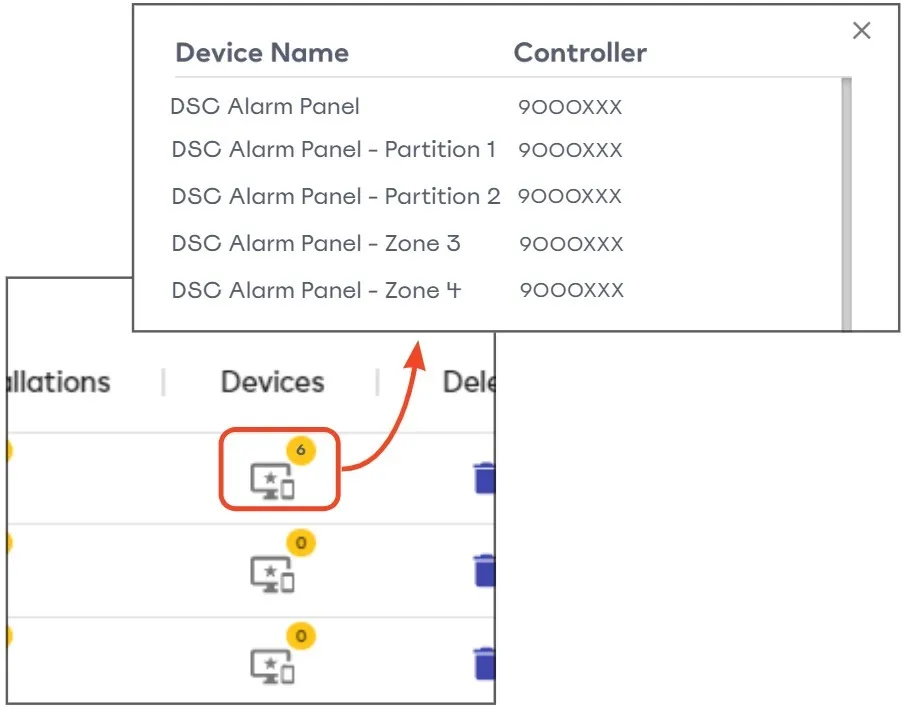
Your alarm panel, partitions and zones are now available as individual devices in the devices area. You can rename them, assign them to rooms, or edit their settings as required:
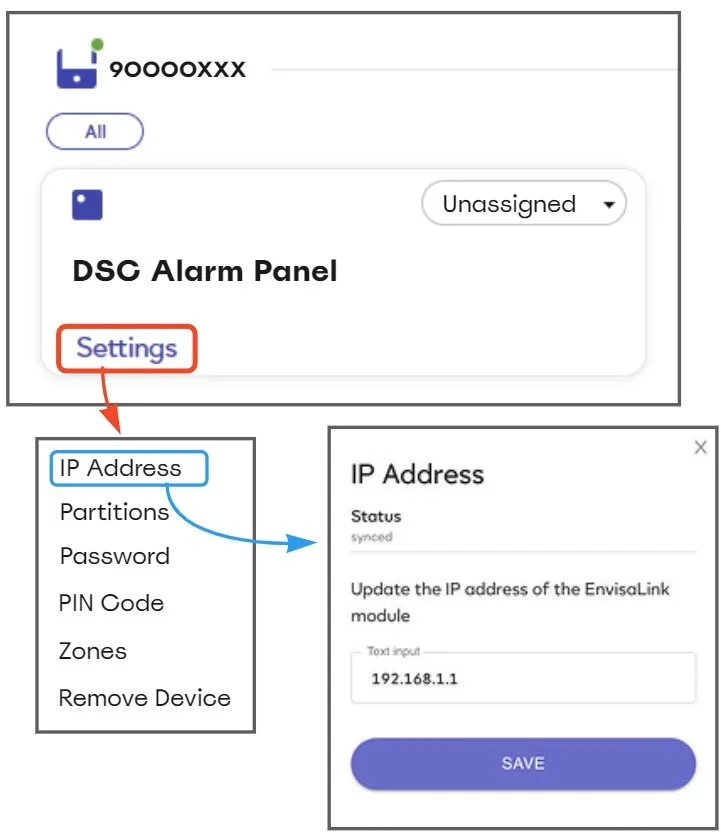
Click ‘Settings’ in the alarm panel device if you want to modify its configuration or add zones or partitions: