Virtual Devices
What is a virtual device?
Virtual devices work exactly the same way as physical smart devices and can act as a ‘universal translator’ for unsupported devices. You can view and control them in the ‘Devices’ area and the dynamic dashboard, just like physical devices.
You can map them to physical devices via a meshbot, monitor their status, and send them commands in your meshbot triggers and actions. A virtual switch, for example, lets you control physical devices and meshbots that are monitoring the state of the virtual switch.
Why use a virtual device?
- Simplicity. You can activate multiple automations, routines and scenes via a single command to a virtual switch. This saves you the time and effort of remembering multiple commands to operate different devices.
- Compatibility. Virtual switches let you control devices that are not supported and/or directly controlled by your voice assistant. You first set the virtual switch to control one of your physical devices then import the virtual switch to Alexa (for example). You can then issue voice commands to the virtual switch rather than the device itself. The switch activates a meshbot in EZlogic which in-turn sends a command to the physical device.
- To act as an ‘IF’ for your scenes. For example, you may have a routine that turns on your light bulbs in the morning. You can make this scene conditional to the ‘ON’ state of a virtual switch. If your family wants to sleep late, or intends to sleep late the next day, you can easily disable the morning routine with a tap of your phone or a voice command to your assistant.
Create a virtual device
- Login to EZLogic
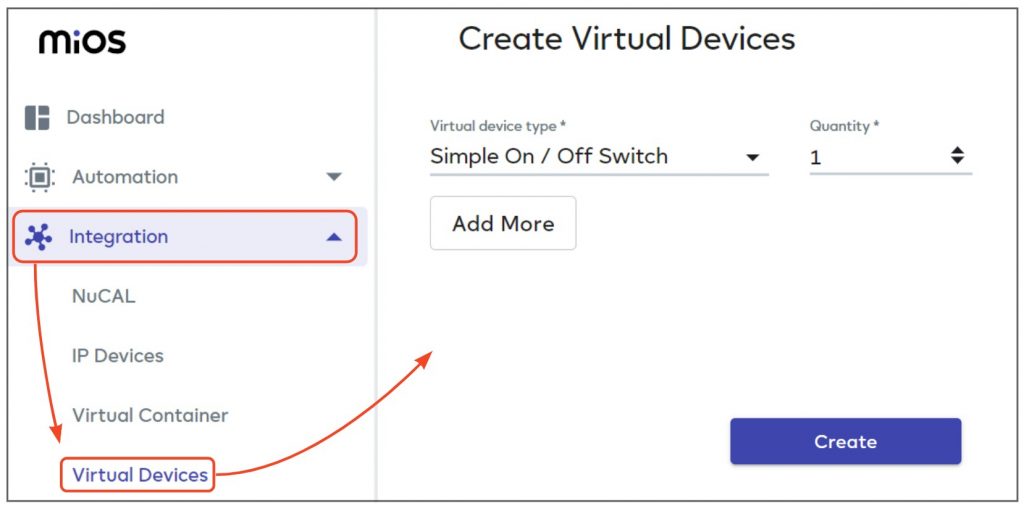
- Click ‘Integration’ > ‘Virtual Devices’ in the left-hand menu:
- Select the controller on which you want to create the device at top-right:
Virtual Device Type – Choose the type of device you want to create. Each type of device has different capabilities which mirror those found on their physical equivalents. For example, select ‘Door Lock’ if you want to use a virtual lock to control a physical lock.
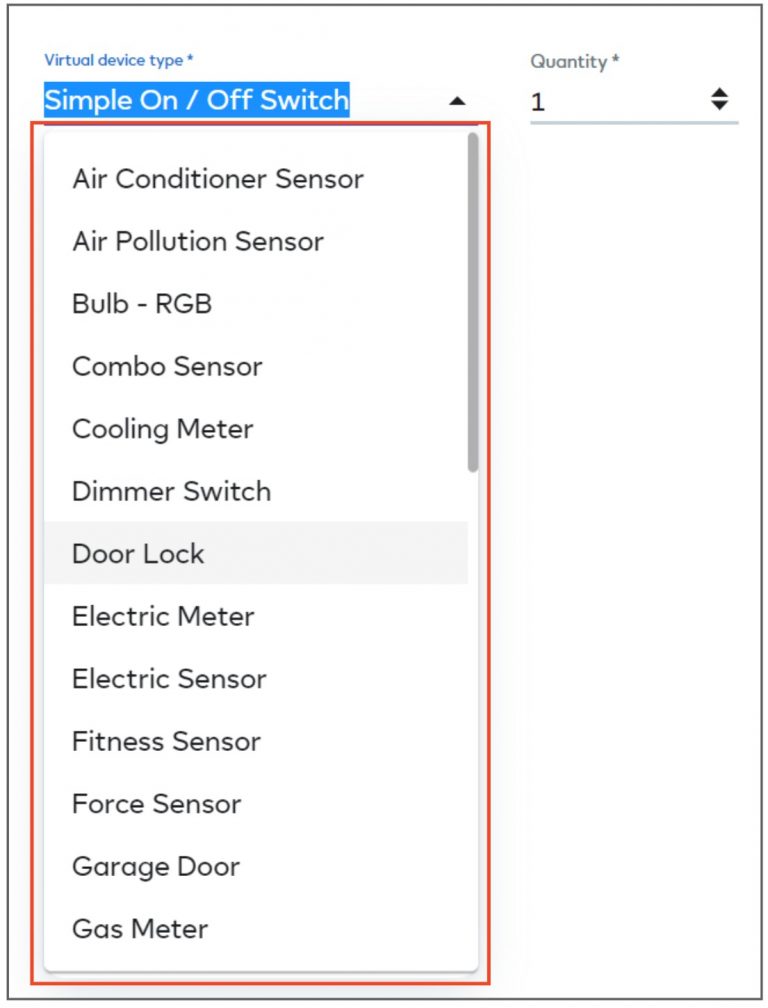
Quantity– As the name suggests, the quantity menu lets you create multiple devices of the type you selected.

Add More – Lets you add virtual devices of different types:
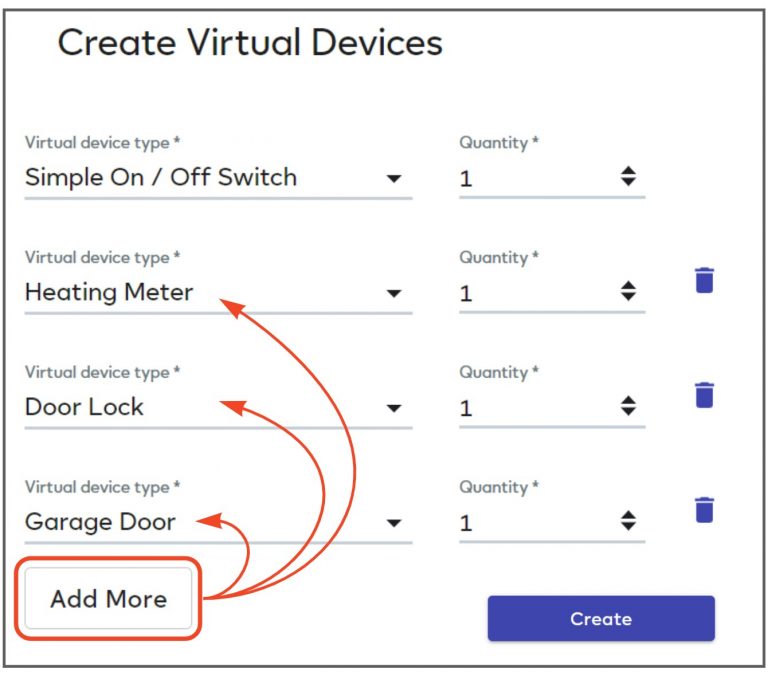
- Note – if you only want multiple instances of the same device type then just use the ‘Quantity’ selector instead.
- Click ‘Create’ to save your virtual devices.
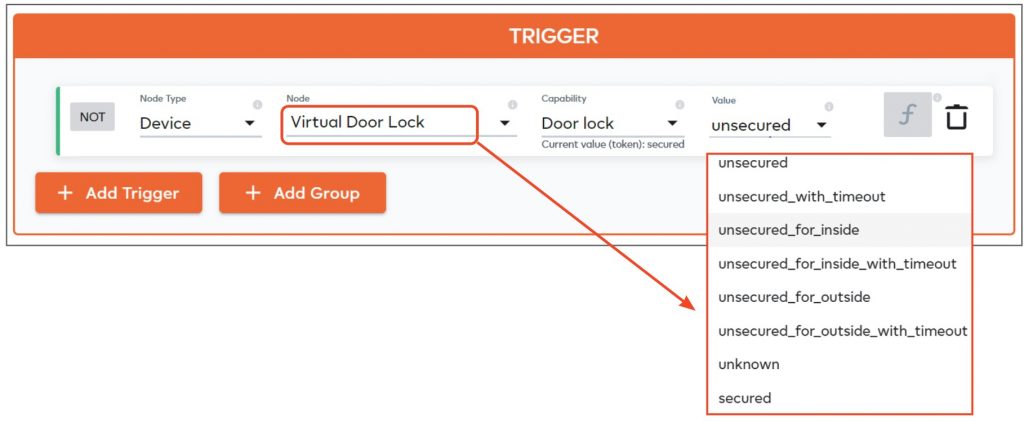
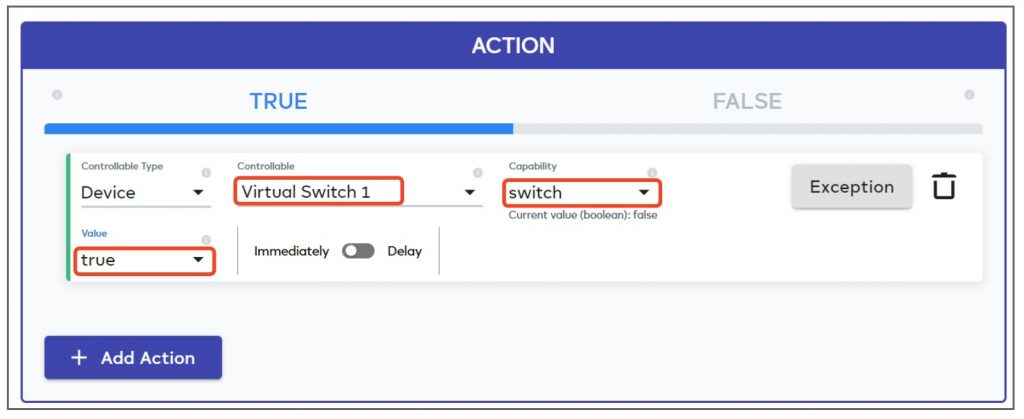
- You can now use your virtual devices to trigger actions when they reach a specific status:

…and also set them to specific states in a meshbot action:
View and modify virtual devices
You can view and edit your virtual devices in the ‘Devices’, and operate / view their status in the dynamic dashboard
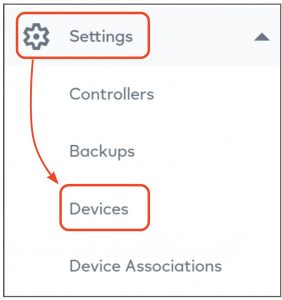
- Click ‘Settings’ > ‘Devices’ to open the devices area:
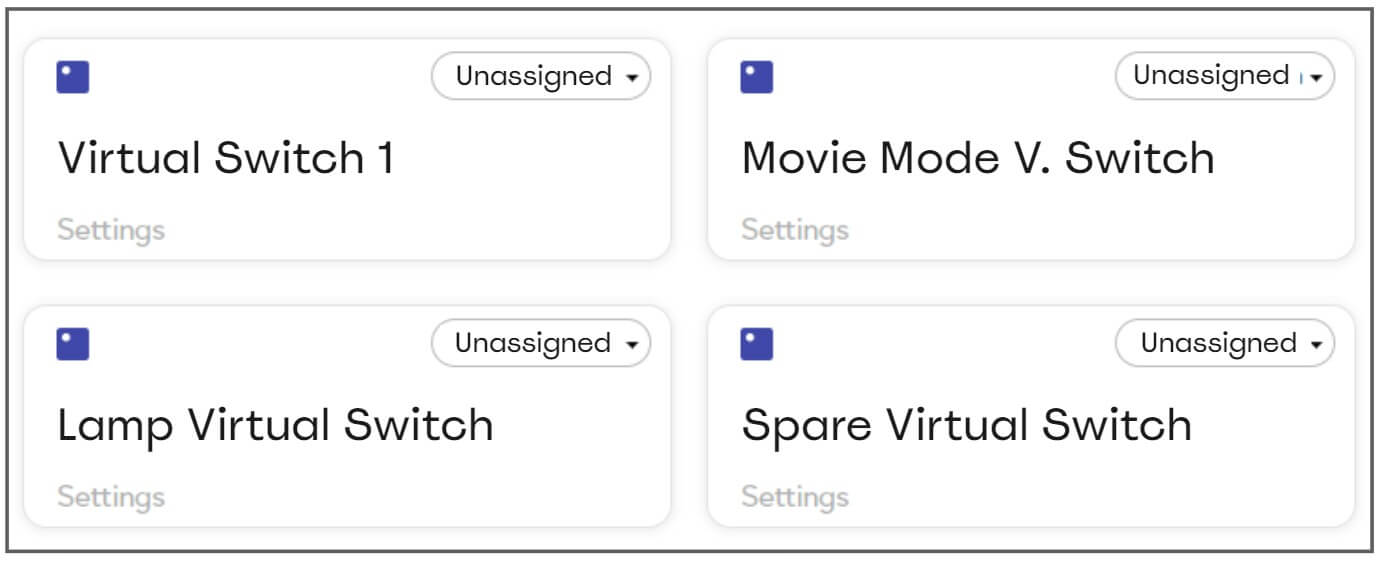
- Locate the new virtual devices you created earlier. They will initially have default names like ‘TestSwitch_1’ etc. The following image shows what you’d see if you created 4 new virtual ‘On / Off’ switches:
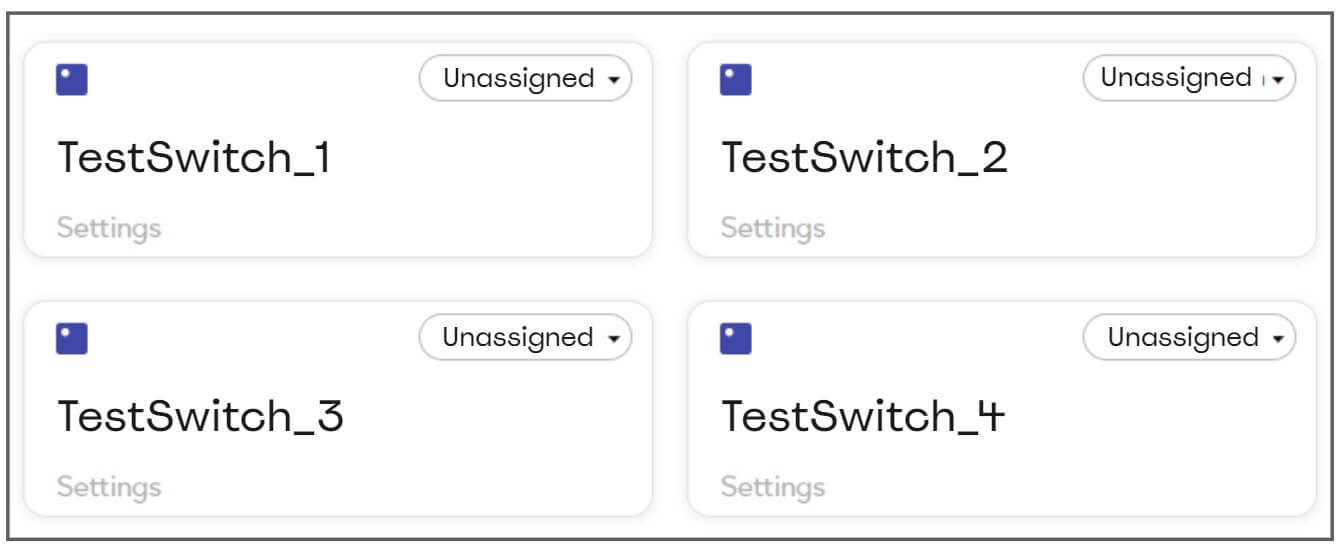
- You can rename these devices to whatever you like at any time. For example:
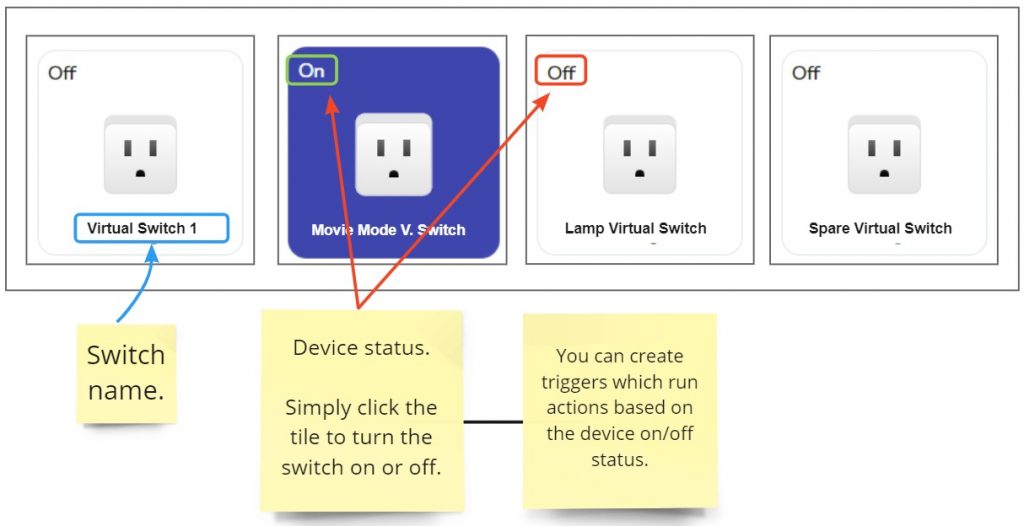
- The new devices automatically appear in your dynamic dashboard as shown below:
Use virtual devices in meshbots
See the following two pages for examples of how you can use virtual devices in meshbots:

