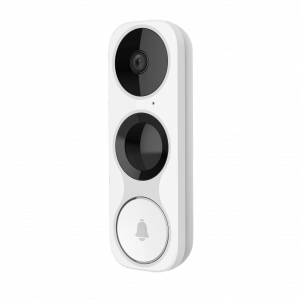
VistaCam 1200 Doorbell App Set-Up

1. In the Vera app, navigate to the ‘Devices’ screen and tap ‘+’ in the top-right corner. Select doorbells then look for VistaCam 1200.
Important: If you have a Vera controller, make sure it’s updated to the latest available firmware (minimum version is 7.0.31 , released on September 2nd ), for the doorbell to be detected and paired correctly.

2. Now that your doorbell is secured with the two security screws at the bottom of the faceplate, hit Next to start the pairing wizard, wait for the doorbell’s LED ring to blink blue and press Next again. Then prepare to connect your smartphone to the camera’s own wi-fi hotspot by pressing Open Settings or just go to your phone’s Wi-Fi settings.

3. Once in your phone’s Wi-Fi settings, wait for the list of hotspots to populate, look for the VistaCam’s 1200 wifi hotspot to show up then tap on it. Type in the camera’s Wi-Fi password which is the 8 digits also present in the camera’s hotspot name “VistaCam1200_XXXXXXXX” and press Join.
4. Then return to the app and pick the hotspot you want the camera to connect to (it must be the same Wi-Fi as the one used by your controller), select it from the list, enter the password, and press OK.

5. Wait for the camera’s audio cue to confirm that the Wi-Fi connection has been successful then press Next.
6. Choose a name for your doorbell camera, pick the chime type from the list, then tap “I’m done adding devices”. After the pairing is successful,, you will be redirected to your doorbell’s live feed.

Congratulations! Your doorbell is now set up. You can now talk to people at your door through the Vera app and ensure greater security for your home.
Need help setting up?
You can reach our Customer Care team seven days a week at 866.966.2272 between 6am and 10pm US CST/EST or at support@getvera.com.

