View and Control Devices in the Mobile App
Click the ‘Devices’ tab to view, control, add and organize devices in your system. You can also confirm that they’re working properly from here, and set rules of behavior (such as notifying you with texts, etc.) for them individually or in groups.
View Devices
When you select ‘Devices’ you will see ALL devices in your system. ‘My Favorites’ only shows those devices you’ve designated as your most commonly used.
There are three ways you can view devices:
- By Type (Lighting, Door Locks, etc.)
- By Room
- By details such as power, signal strength and more
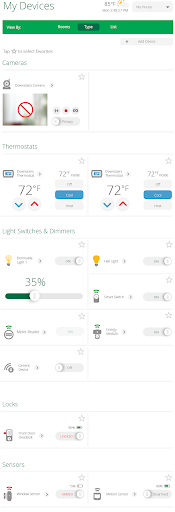
The ‘Device Type’ and ‘Room’ displays are designed to provide quick access to control your devices. For example, to quickly adjust light levels or change a thermostat setting. Here’s what the screen looks like when you have a number of devices installed viewed by ‘Type’:
List
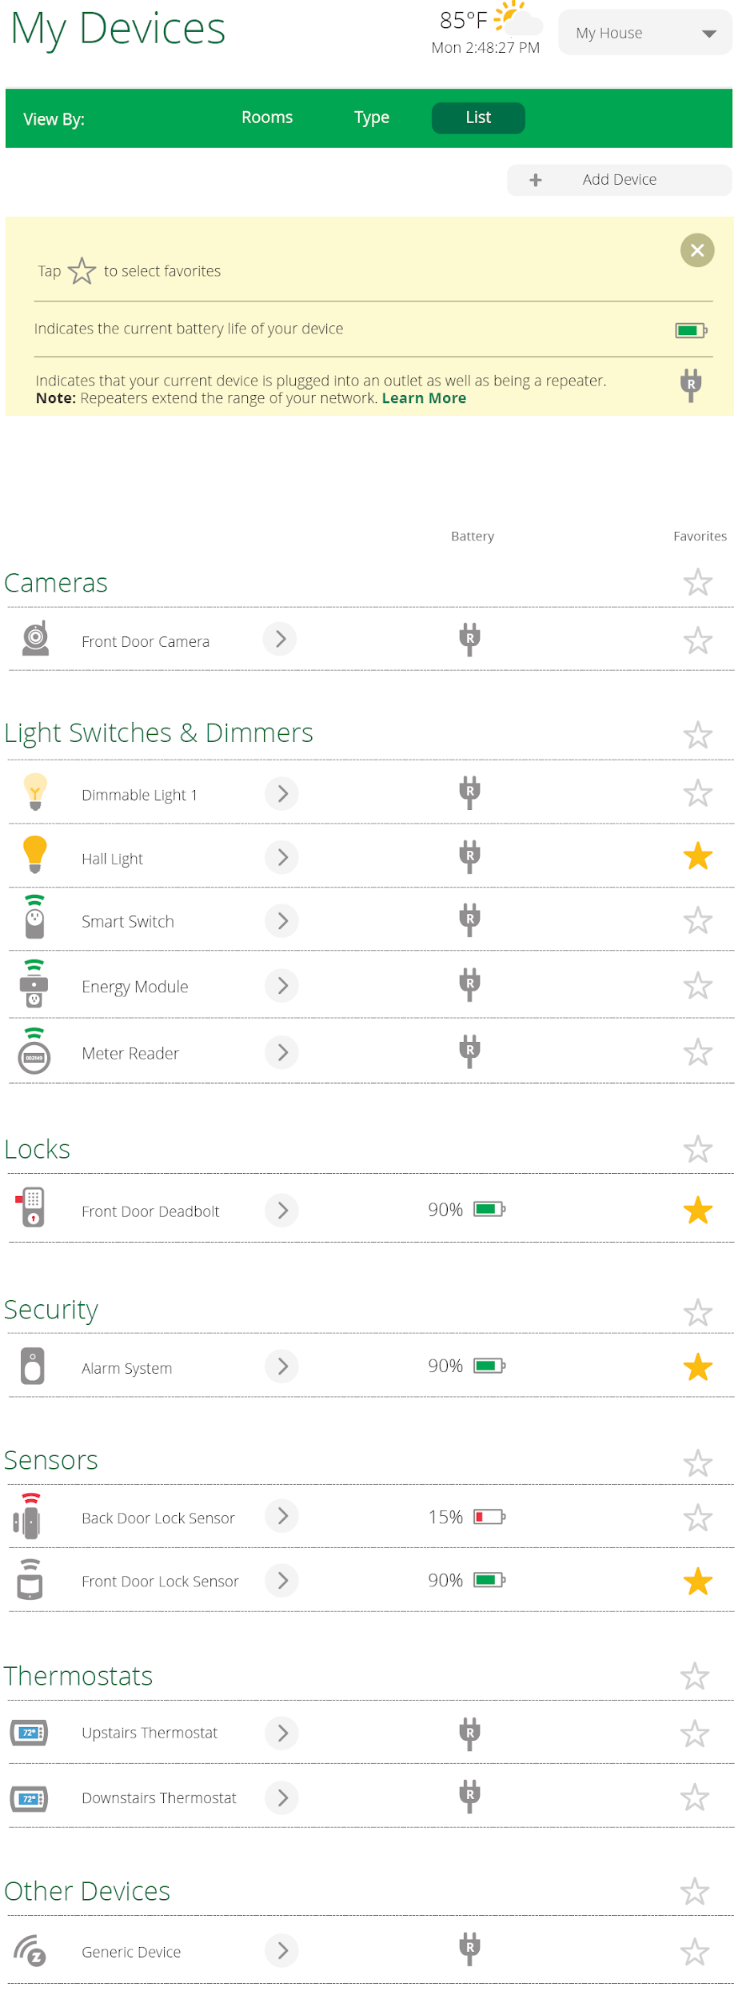
‘List’ shows all devices organized by type.But rather than providing quick access to controls (as in the ‘Type’ view), ‘list’ shows you several key technical details about each device. This information includes:
- Battery or AC power status
- Signal strength (for wireless communication with the Vera Controller)
- Is it a Favorite?
Here’s what the same set of devices shown above looks like in list view:
Click the right arrow next to a device to adjust device settings : ![]()
Controlling Devices
When a device is working properly you can adjust that device’s operation and setup in the ‘Type’ and ‘Room’ views. These adjustments are different for each type of device. For example, a thermostat offers temperature settings while a lamp dimmer has light level controls.
Let’s use a Smart Switch as an example. Once you’ve included this device into your system via the Setup Wizard, you will see its basic functions right away. In this case, the basic functions are to turn it on or off.
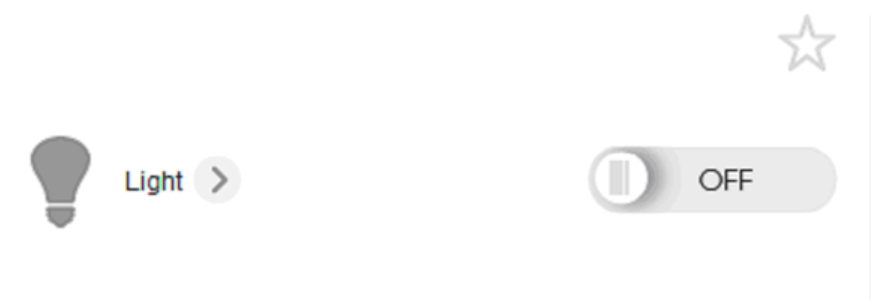
You can add the light switch to your favorites so it shows in ‘My Favorites’ on your dashboard, much like you’d pin something to your bulletin board.
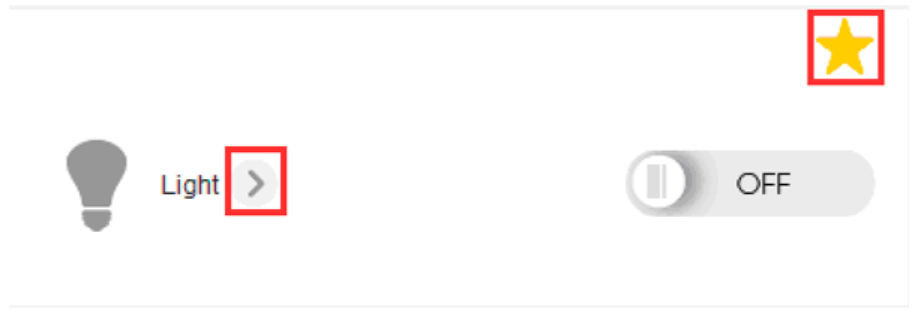
You’ll also see a second button, an arrow pointing to the right, which opens up the control pad for that particular device. Depending on the type of device and the device itself, there are several setup options that may be configured.
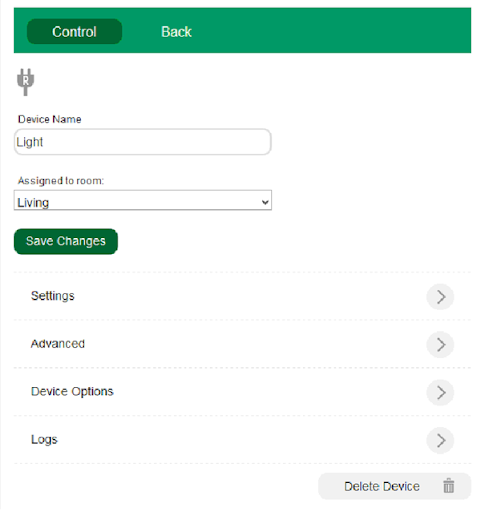
Using the example of the Smart Switch, here is what a configuration screen would look like. Again, there will be different options available depending on which device you’re setting up.
Don’t worry — you won’t have to adjust any of these technical parameters if you’re not comfortable with them. We will discuss these functions in a later section. In the meantime, you can see a typical Control Pad screen below: