Scenes let you personalize device behaviors and give you the power to simply and easily customize your smart home.
This guide will teach you:
How to create a basic scene that will do a video recording at a scheduled time.
Create a Scheduled Scene
1. Scheduled scenes are useful when you need to select a time or interval that will trigger the activation. To add a scene, click ‘Scenes‘ in the left-hand menu, click ‘+ Add Scene‘ in the upper right-hand corner, then select the ‘Schedule‘ trigger
2. Suppose you want the camera to start recording when you leave for work (in ‘Away’ mode); select the ‘Daily‘ interval. For the time values, select ‘At the time of day‘ in the first list and ‘08:00’ in the next two lists, and click ‘Validate‘
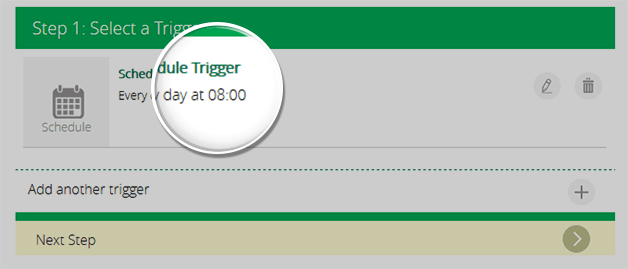
3. The system will tell you that the trigger will activate every day at 08:00 AM
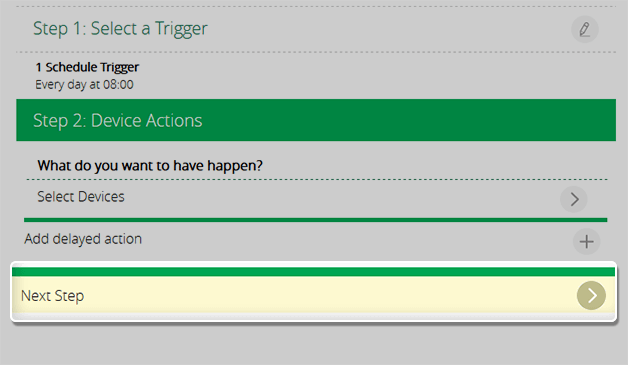
4. Click ‘Next Step’ to select devices and/or a delayed action
NOTE: Delayed actions can be useful if, for example, after a period of time you want to add another action. This action could be send a notification to your phone, or turn on a light as a preemptive measure.
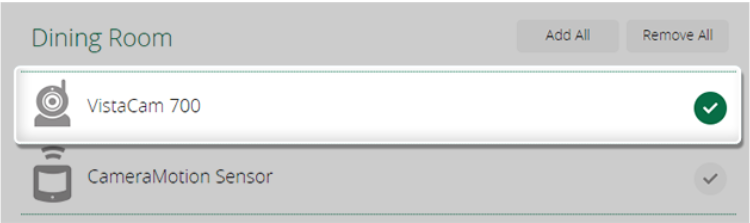
5. Click ‘Select Devices‘ check the camera from the list, scroll down to the bottom of the page, and hit ‘Next Step‘
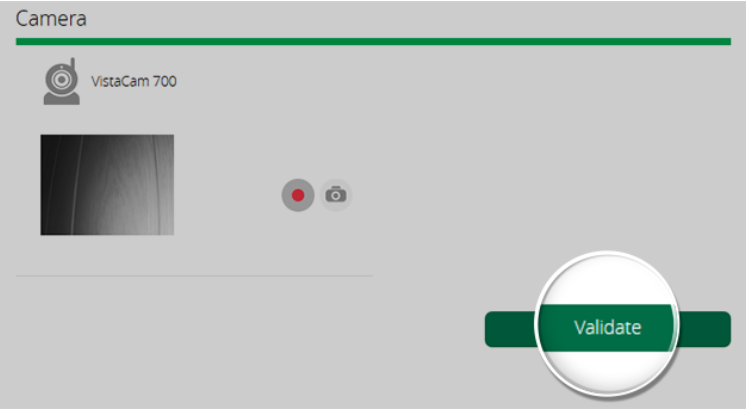
6. Select the record action for the camera and click ‘Validate’
7. By default, the action is set to ‘Immediately’ meaning the camera will automatically start recording at 08:00
NOTE: The camera will not record continuously. It will record individual files each lasting 15-20 seconds.
How can we help?
A premium WordPress theme with integrated Knowledge Base,
providing 24/7 community based support.